SENSEI OpenFOAM Interface
Synopsis
The SENSEI OpenFOAM Interface integrates SENSEI into OpenFOAM. The interface is implemented as an OpenFOAM function object which subclasses the SENSEI VTKDataAdaptor. The interface was developed using Version 7 of OpenFOAM at openfoam.org and SENSEI 3.2.1. This interface may work with other OpenFOAM and SENSEI versions, but this has not been tested.
Setting Up
These instructions assume that SENSEI and OpenFOAM have already been built and installed.
To build the OpenFOAM function object that implements the SENSEI interface, edit the file functionObjects/sensei/Allwmake and specify paths to SENSEI and to VTK by setting the following variables:
SENSEI_DIR="SENSEI installation path"
VTK_INC="path to VTK include files"
VTK_LIB="path to VTK libraries"
Note that you must point the the same VTK version used by SENSEI.
These paths will be used to set the compile and link flags used by the build as follows. These typically will not need to be modified:
export SENSEI_CXXFLAGS="-O2 -I$SENSEI_DIR/include -I$VTK_INC"
export SENSEI_CXXLIBS="-L$SENSEI_DIR/lib -lsensei -lsenseiCore -lpugixml"
export SENSEI_CXXLIBS="$SENSEI_CXXLIBS -Wl,-rpath=$VTK_LIB"
To build the interface, you set up your OpenFOAM environment and execute the Allwmake script:
cd functionObjects/sensei
source "OpenFOAM installation path"/etc/bashrc
./Allwmake
Running Allwmake builds the interface and installs it into the users OpenFOAM library directory.
Running the Example
Copy the pipeCyclic tutorial from the OpenFOAM distribution to use as an example. You can find it here:
"OpenFOAM installation path"/tutorials/incompressible/simpleFoam/pipeCyclic
Edit the system/controlDict file in the tutorial and add a senseiFunctionObject block into the functions section. This will load the interface during the solver run and export the requested fields. For example:
functions
{
    senseiFunctionObject
    {
        type        senseiFunctionObject;
        libs        ("libSenseiAdaptor.so");

        enabled     true;

        name        simpleFoam;
        desc        "simpleFoam pipeCyclic tutorial SENSEI export";
        fields          ( U p k epsilon );
    }
}
Next, create a file called constants/sensei_config.xml to control what SENSEI will export. Here is an example sensei_config.xml file that outputs PNG images of a slice using Libsim”
<sensei>
    <analysis type="libsim"
        plots="Pseudocolor"
        plotvars="region0/cell/p"
        slice-origin="0,0,0.25" slice-normal="1,1,1"
        image-filename="openfoam_slice_%ts"
        image-width="800" image-height="600"
        image-format="png"
        frequency="1"
        enabled="1" />
</sensei>
Then run the tutorial using the Allrun script:
./Allrun
Results
Here are two of the images produced running the tutorial with the above sensei_config.xml file:
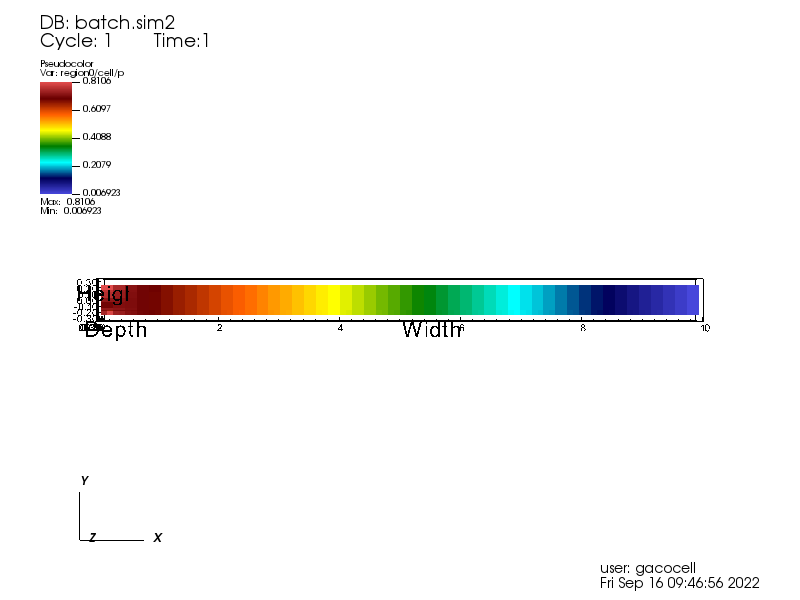
Fig. 13 Z = 0.25 slice at time step 1
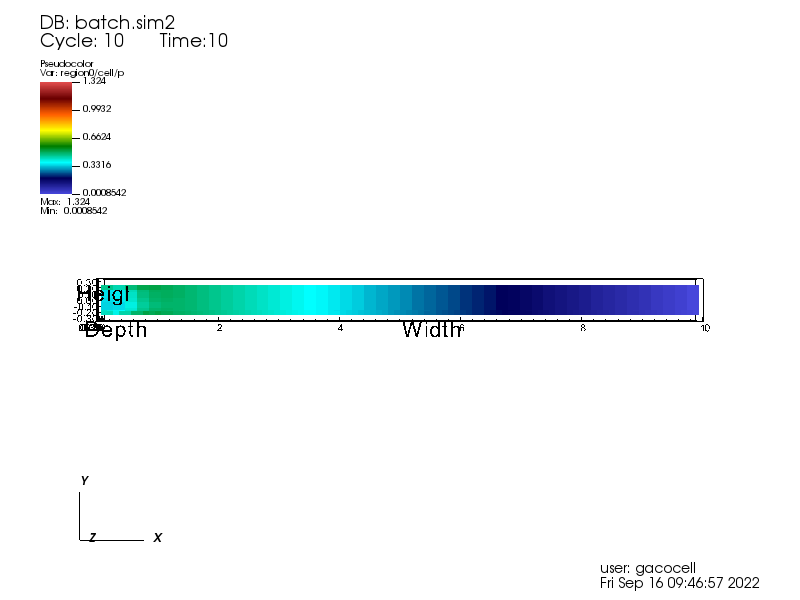
Fig. 14 Z = 0.25 slice at time step 10